Using the Logic Builder
Category: Form Builder Section: Getting Started Last Updated: 2024-08-22
The Logic Builder lets you dynamically change field properties based on form conditions. Access it through the Logic Tab in any component's properties modal.
Common use cases:
- Change field values based on other inputs
- Update labels or placeholder text dynamically
- Make fields required conditionally
- Enable/disable fields based on user selections
Adding Logic
- Open the field's properties modal
- Navigate to the Logic tab
- Click +Add Logic
Step 1: Set Up a Trigger
A trigger defines when your logic runs. Select your trigger type from the dropdown:
| Trigger Type | Description | Best For |
|---|---|---|
| Simple | Runs when a specific field has a specific value | Basic conditions |
| JavaScript | Custom conditions using JavaScript | Complex logic |
| JSON Logic | Conditions using JSON format | Structured rules |
| Event | Runs on an externally defined event | Advanced workflows |
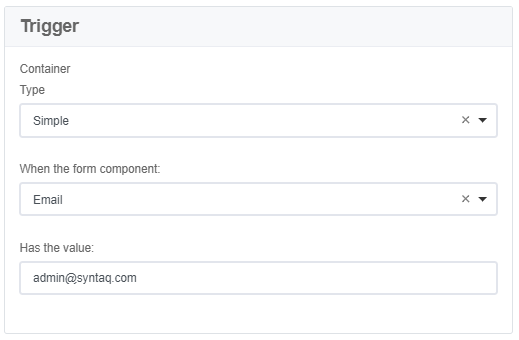
Simple Trigger
Specify a field and value to match.
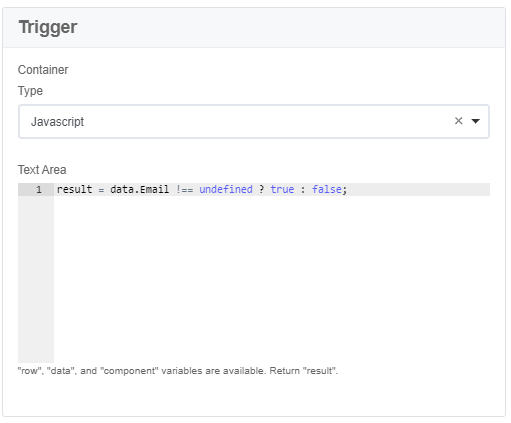
JavaScript Trigger
Write custom conditions. Actions run when result equals true.
RECOMMENDATION
We recommend the JavaScript trigger for most use cases — it offers the greatest flexibility and uses the same language as Value actions.
Referencing Fields in JavaScript
| Context | Syntax | Example |
|---|---|---|
| Standard field | data.Field_Name | data.FirstName |
| Field in same repeat row | row.Field_Name | row.Quantity |
TIP
For the correct syntax for each field type, see Getting Field Values.
Step 2: Create an Action
Actions define what happens when the trigger condition is met.
- Give your action a descriptive name
- Select the action type
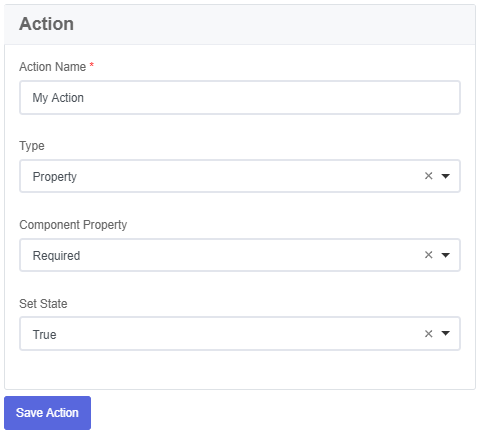
Property Actions
Change how the field behaves or appears:
| Property | Values | Description |
|---|---|---|
| Required | true / false | Field must be answered before submission |
| Disabled | true / false | Field cannot be edited |
| Label | Text | Change the field label |
| Title | Text | Change panel title |
| Tooltip | Text | Update the tooltip |
| Description | Text | Change the description |
| Placeholder | Text | Update placeholder text |
| CSS Class | Class name | Add a CSS class |
| Container Custom Class | Class name | Add a container class |
DYNAMIC TEXT
Use {{data.Field_Name}} in Label or Title to include user-entered data.
Value Action
Use JavaScript to set the field's value:
value = data.Field_NameThis example clones the value from another field.
Validation Action
Add custom validation rules to the field.
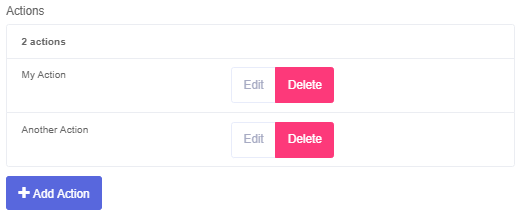
Adding Multiple Actions
You can add multiple actions to a single trigger:
- Save your current action first
- Click +Add Action
- Configure the new action
Saving Your Logic
CRITICAL
Follow this save order to avoid errors:
- Save each Action after creating it
- Save your Logic before switching tabs
- Save the Field after all logic is complete
WARNING
Unsaved changes will be lost if you switch tabs or close the modal without saving!