Creating an On-Save Email Workflow
Category: Publishing Your Forms Section: Articles Last Updated: 2024-08-22
After creating a form and validating that the data put into it will flow through into the template document in the way you expect, you might start looking at how you want users to actually use it. You might want to embed the form in your website for unauthenticated users to be able to access, or share the form to internal users you have provisioned on the platform. You might even want to do a little of both and embed the form into an internal website where users log in to that site separately while all being authenticated under one Syntaq user.
An issue with any of these implementations is going to be access to records. In the case of an internal website, embedding a records page or using the record load option for embedding the form itself may be sufficient. However, for an unauthenticated user or where potential conflicts might arise from other users having access to the same records, embedding records is just not an option.
So where do you go from here? The answer is to create an email workflow to run on form save, to send a link to the user which grants access to the form and data record they have just saved.
Creating the App
The first step is to create the desired Workflow using an App in Syntaq. In Apps, simply hit '+New App'. 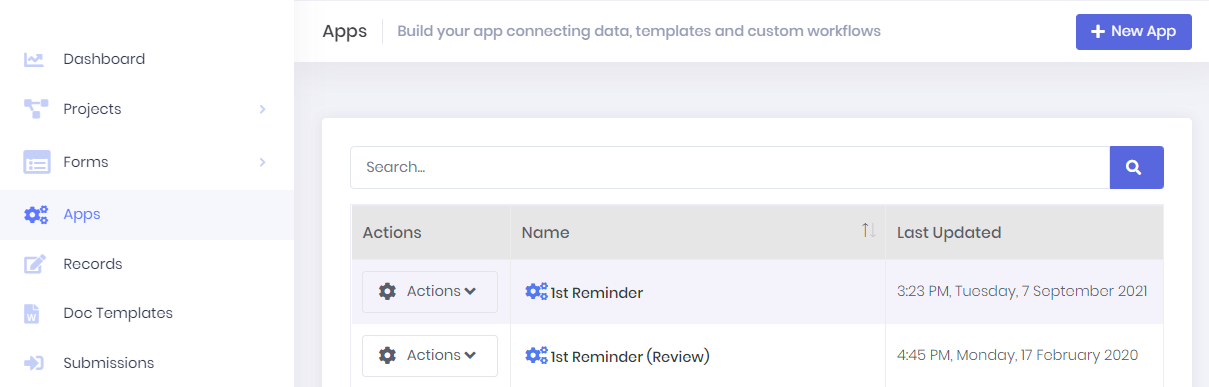 You will then be required to name the App and add some data to use when testing the App. You can use an empty data set - {} - if you want to get this step done quickly. Save the App and then click on it in the App list to get the App Job menu to appear on the right-hand side of the page. You will then need to add an App Job and create the workflow settings just as you would for a form, whilst considering the following:
A document can be added to the flow, but this is not recommended.
The record settings should be similar to (if not the same as) those for when you submit the form. This will allow admins to easily identify the records.
An email address to send the link to will be required. This will need to be a value from the form itself which is either pulled in from a prior integration, or a required input field.
The link to your form will depend on your implementation, but should always be placed in the body of the email, and will take the following form:
Open Form For a form embedded in a website, but accessible the public (i.e. an external embedded workflow): "[formurl]" will need to be replaced with the url of the page the form is embedded in. For a form embedded in a site that requires a log in (i.e. an internal embedded workflow): "[formurl]?AccessToken={AccessToken}" will need to be replaced with the log in url for the site, followed by "?ReturnUrl=" and then the url of the page the form is embedded in. For a form only accessed via the Syntaq platform by authenticated users (i.e. an internal Syntaq workflow): "[formurl]" will need to be replaced in a similar manner to the internal embedded workflow, with your tenancy's Syntaq log in url, followed by a return url consisting of your tenancy domain followed by "/load?OriginalId=" and the form Id of the particular form, followed by the "&" character. Once the link is set and you are happy with all of the workflow settings, you can save the App Job and copy the App Id from your new App's action menu.
Triggering the App to run On-Save
To get this App to run you will need the following in the form's form script, with the relevant form and app IDs added in:
window.BeforeFormSave = function() { Form.data.AccessToken = Syntaq.Form.AnonAuthToken; Form.data.RecordId = Syntaq.Form.RecordId; Form.data.RecordMatterId = Syntaq.Form.RecordMatterId; Form.data.RecordMatterItemId = Syntaq.Form.RecordMatterItemId; Form.data.FormId = '[Your Form ID]'; var data = JSON.stringify(Form.data); abp.appPath = _SyntaqBaseURI; abp.ajax({ type: "POST", contentType: 'application/json', url: _SyntaqBaseURI + '/api/services/app/apps/run', data: '{"Id": "[Your App ID]", "FormId": "' + Syntaq.Form.FormId + '", "AnonAuthToken" : "' + Syntaq.Form.AnonAuthToken + '", "Data" : ' + data + ' }' }).done(function (response) { toastr.info('Your Form has been saved. Please check your email inbox.'); }); return false;
}
Save the script and form and you are done!
Of Further Note
If you have auto-save turned on in the form, we highly suggest putting some conditional logic at line 2 (stopping at line 21) to check that the data for the email field exists (and possibly is a valid email) and using a flag so that this will only run once. The link will remain valid for the record regardless of how many times the user saves. We recommend adding some copy to the email to the effect that they should not delete the email until they have submitted the form, if this logic is implemented.
If the form is also used in a project and you don't want this functionality to be present when the form is used in that context you will also need to condition on whether or not the data for ProjectId exists.
If you have any questions, or some of the above is not clear, let me know,